
Managing multiple social media accounts feels like walking a tightrope, doesn't it? One wrong step, and you risk getting your accounts flagged or banned. The big challenge? Platforms are genius at spotting suspicious activity, especially when it comes to your digital fingerprint. So, how can you safely manage all those accounts without setting off alarms?
The secret isn't a single magic tool, but a powerful combo: pairing a robust residential proxy service with a reliable anti-detect browser. In this guide, we'll show you exactly how to team up IPcook and ixBrowser to master multi-account management seamlessly. Ready to learn the ropes? Let's dive in.
Before you learn how, it's crucial to understand what you're up against. Platforms are smarter than ever, and they piece together clues about you to spot suspicious activity. To stay under the radar, you need to master a few key areas. Here are the main factors you simply can't ignore:
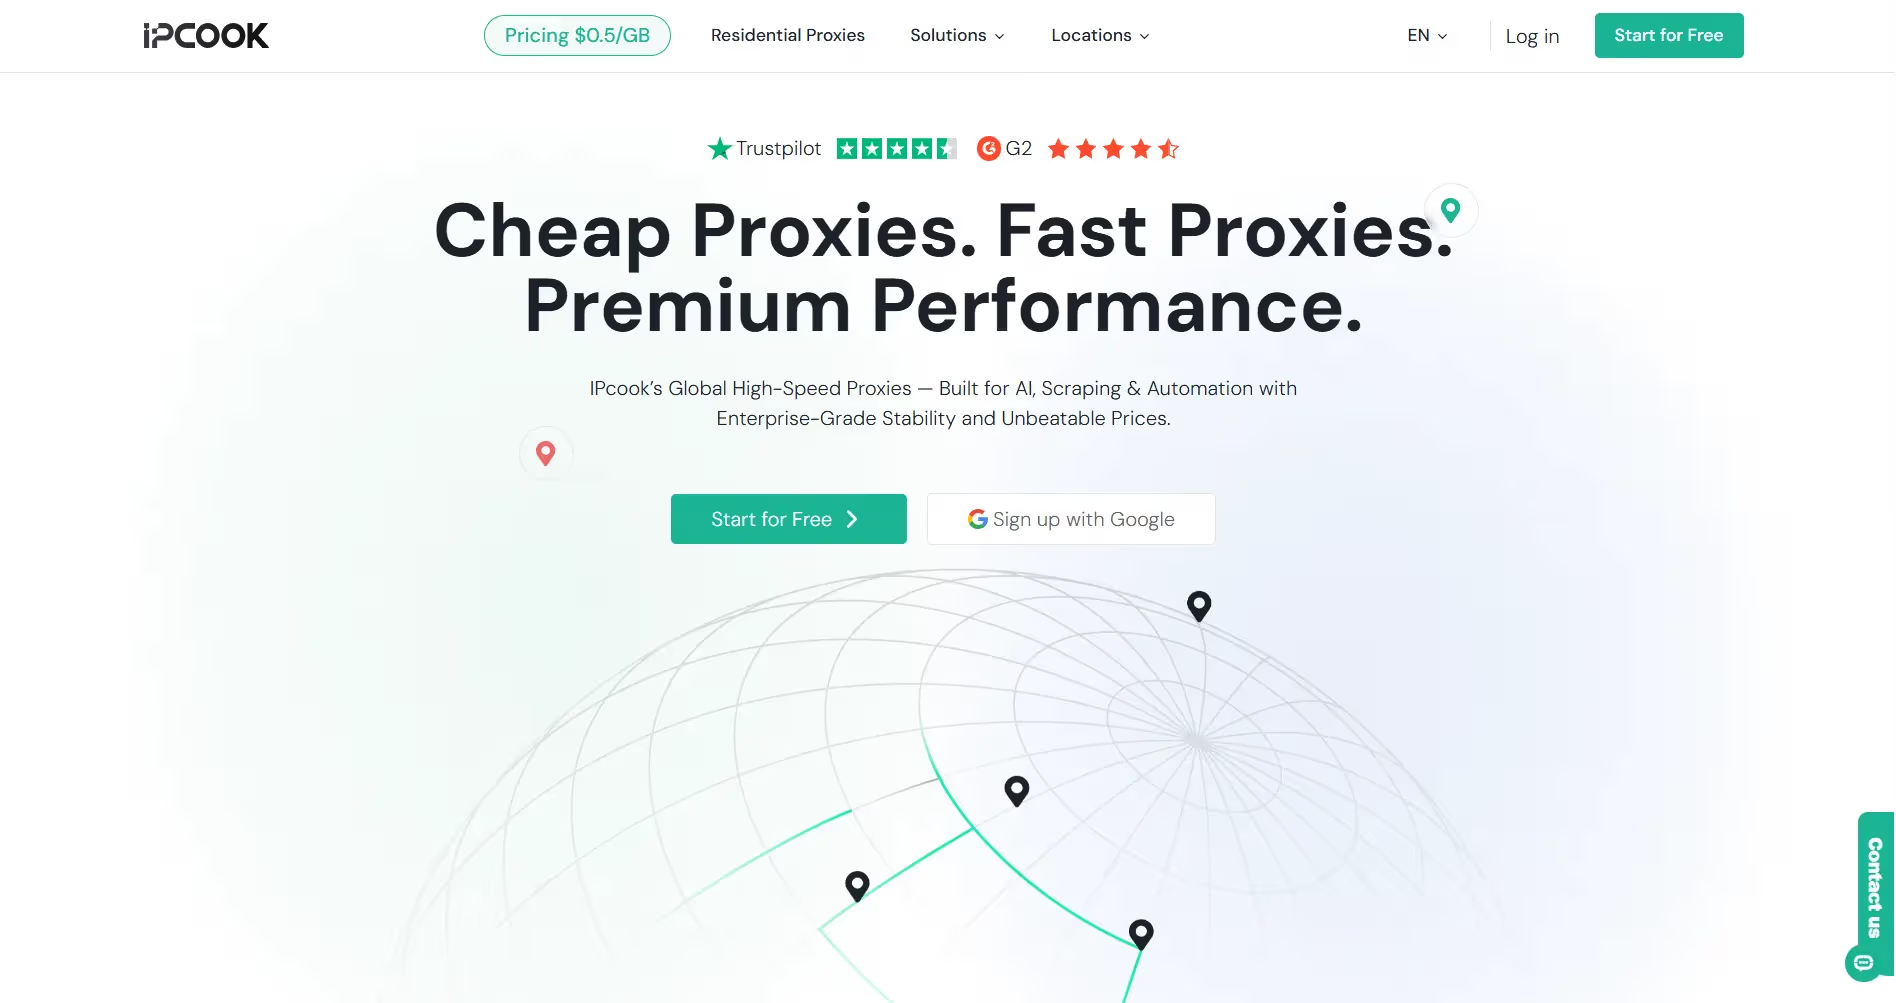
As mentioned, a unique IP address is critical to stay away from being blocked. That's where IPcook comes in. Think of IPcook as your dedicated partner for high-quality, hard-to-detect residential proxies. Their main business revolves around providing authentic IP addresses from real residential networks. This is essential for anyone who needs to appear as a genuine, regular internet user during their online activities.
When you use IPcook, you get access to a suite of features designed to make multi-account management smooth and secure. Here are some of the key perks:
ixBrowser is a useful tool that lets you safely manage multiple social media accounts and other profiles from a single computer. It can create a unique, disguised digital fingerprint for each account, making it nearly impossible for websites to detect and connect your activities. It's a game-changer for anyone in e-commerce, social media marketing, or anyone who needs robust multi-account management without the constant fear of bans.
Here's a quick look at what makes it stand out:
After learning the basics of IPcook, I'm sure you are eager to know how you combine its proxies in ixBrowser. Now, take the step-by-step guide below to get things set up.
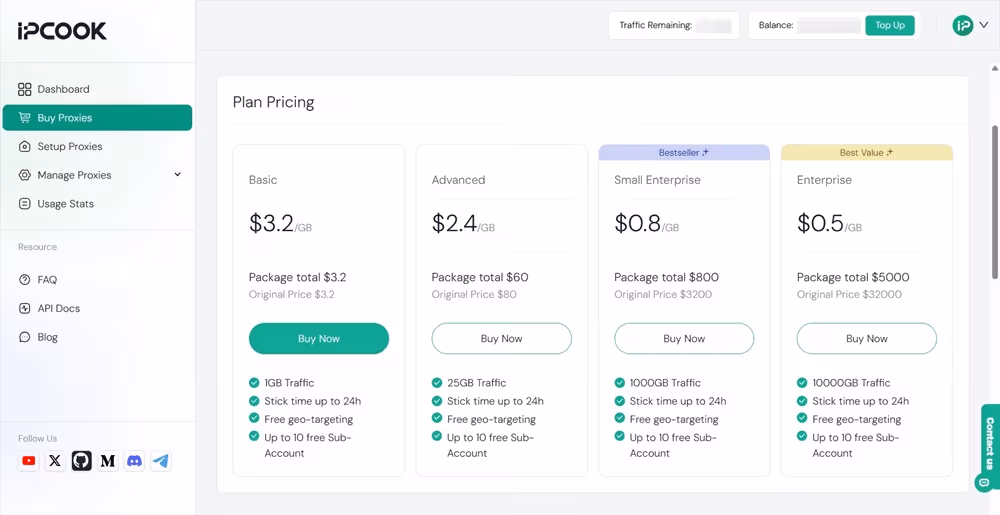
Visit the IPcook official website and log in to your account or sign up for a new one. Go to the "Buy Proxies" tab and top up your account. Then, choose a pricing plan that matches your requirements and pay for it.
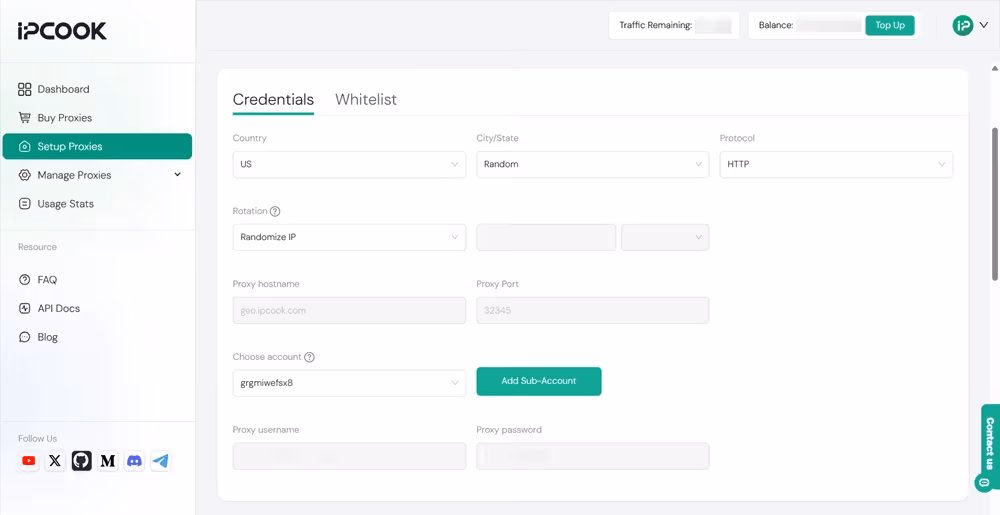
Switch to the "Setup Proxies" section, where you need to configure the parameters like country and protocol. Plus, add a sub-account to allocate your purchased data. Afterward, you will get the proxy details, including hostname, port, username, and password.
Go to the ixBrowser website to download the anti-detect browser and get it installed on your computer. In addition, sign up for an account for later use.
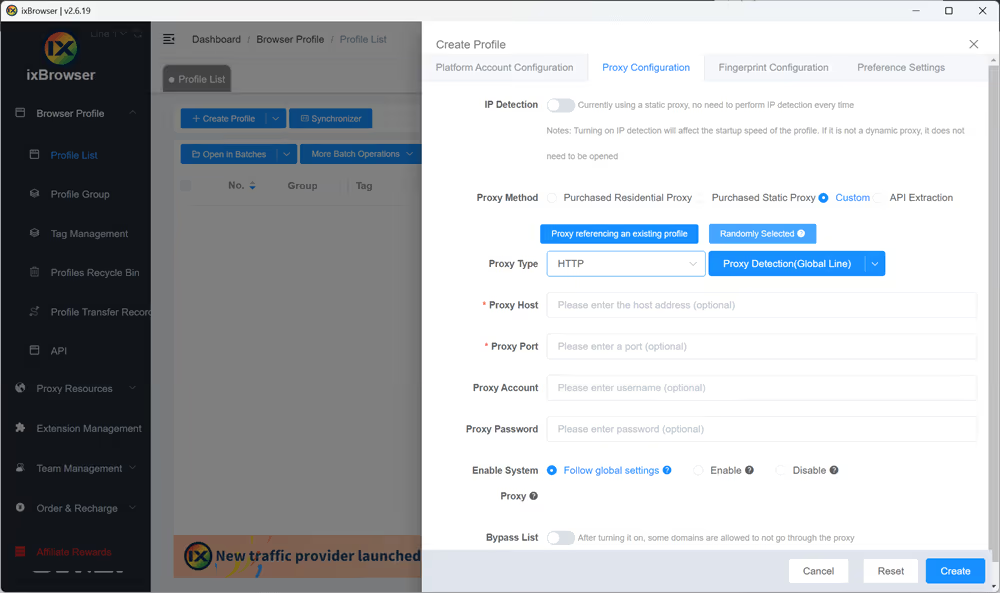
Launch ixBrowser on your computer and log in to your account. Click "Create Profile" under the "Profile List" tab. In the pop-up window, configure the settings according to your needs. For the "Proxy Configuration" section, you can copy and paste the proxy credentials you get from IPcook into the relevant fields. Click "Create" in the bottom-right corner when you are done.
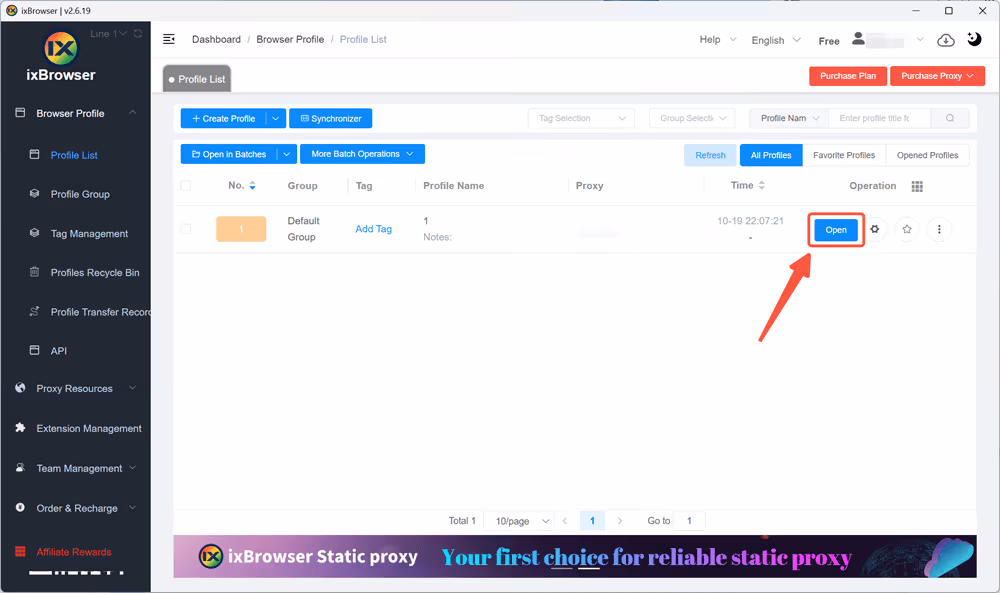
Now the profile is created with a unique IP address. Click the "Open" icon to start the browser profile, and you can do anything you want without revealing your online identity.
Successfully managing multiple accounts isn't about magic; it's about using the right tools for the job. You need to mask your IP address with a high-quality residential proxy and disguise your browser fingerprint with a reliable anti-detect browser.
By combining IPcook, with its vast pool of authentic elite proxies, and ixBrowser, with its powerful fingerprint-spoofing technology, you create a seamless and secure environment for all your accounts. This powerful duo gives you the freedom to operate efficiently and with peace of mind. Give this strategy a try; it's a true lifesaver for your digital workflow.

