
Are you looking for a guide on how to combine IPcook and MuLogin? If yes, then you've come to the right place! These two tools are powerful when combined for multi-account management. But for some users, the process may not be that easy. This guide will solve this problem by showing how to obtain an IPcook proxy and set it up in MuLogin. Let's dive right in!
You might be wondering, what makes this pair so special? Think of it this way: IPcook provides the perfect disguise. MuLogin, on the other hand, is your command center that manages all your profiles securely. Let's quickly see why they're a match made in heaven.
Let's talk about IPcook first. In simple terms, it's your go-to option for high-quality residential proxy IPs that make your online activity look completely natural. It provides you with a cloak of invisibility for tasks like web scraping and data scraping, ensuring you don't get blocked or flagged. The magic lies in its elite proxies that offer top-tier anonymity. They will make your connection seem to be coming from a regular home user, not a data center.
Here's a quick look at what makes it so powerful:
Meet MuLogin, your solution for managing multiple online identities securely. This sophisticated anti-detect browser specializes in multi-account management, allowing you to operate numerous separate accounts from a single device without triggering security alerts.
The platform creates isolated browsing environments, each with unique digital fingerprints that mimic real user devices. This approach proves invaluable for e-commerce, social media management, and secure web scraping operations. You can automate workflows through API integration while maintaining complete separation between your different account sessions.
Now comes the key section of the guide. The steps below detail how you can get a proxy from IPcook and configure it in a MuLogin browser profile. Follow along to get things ready.
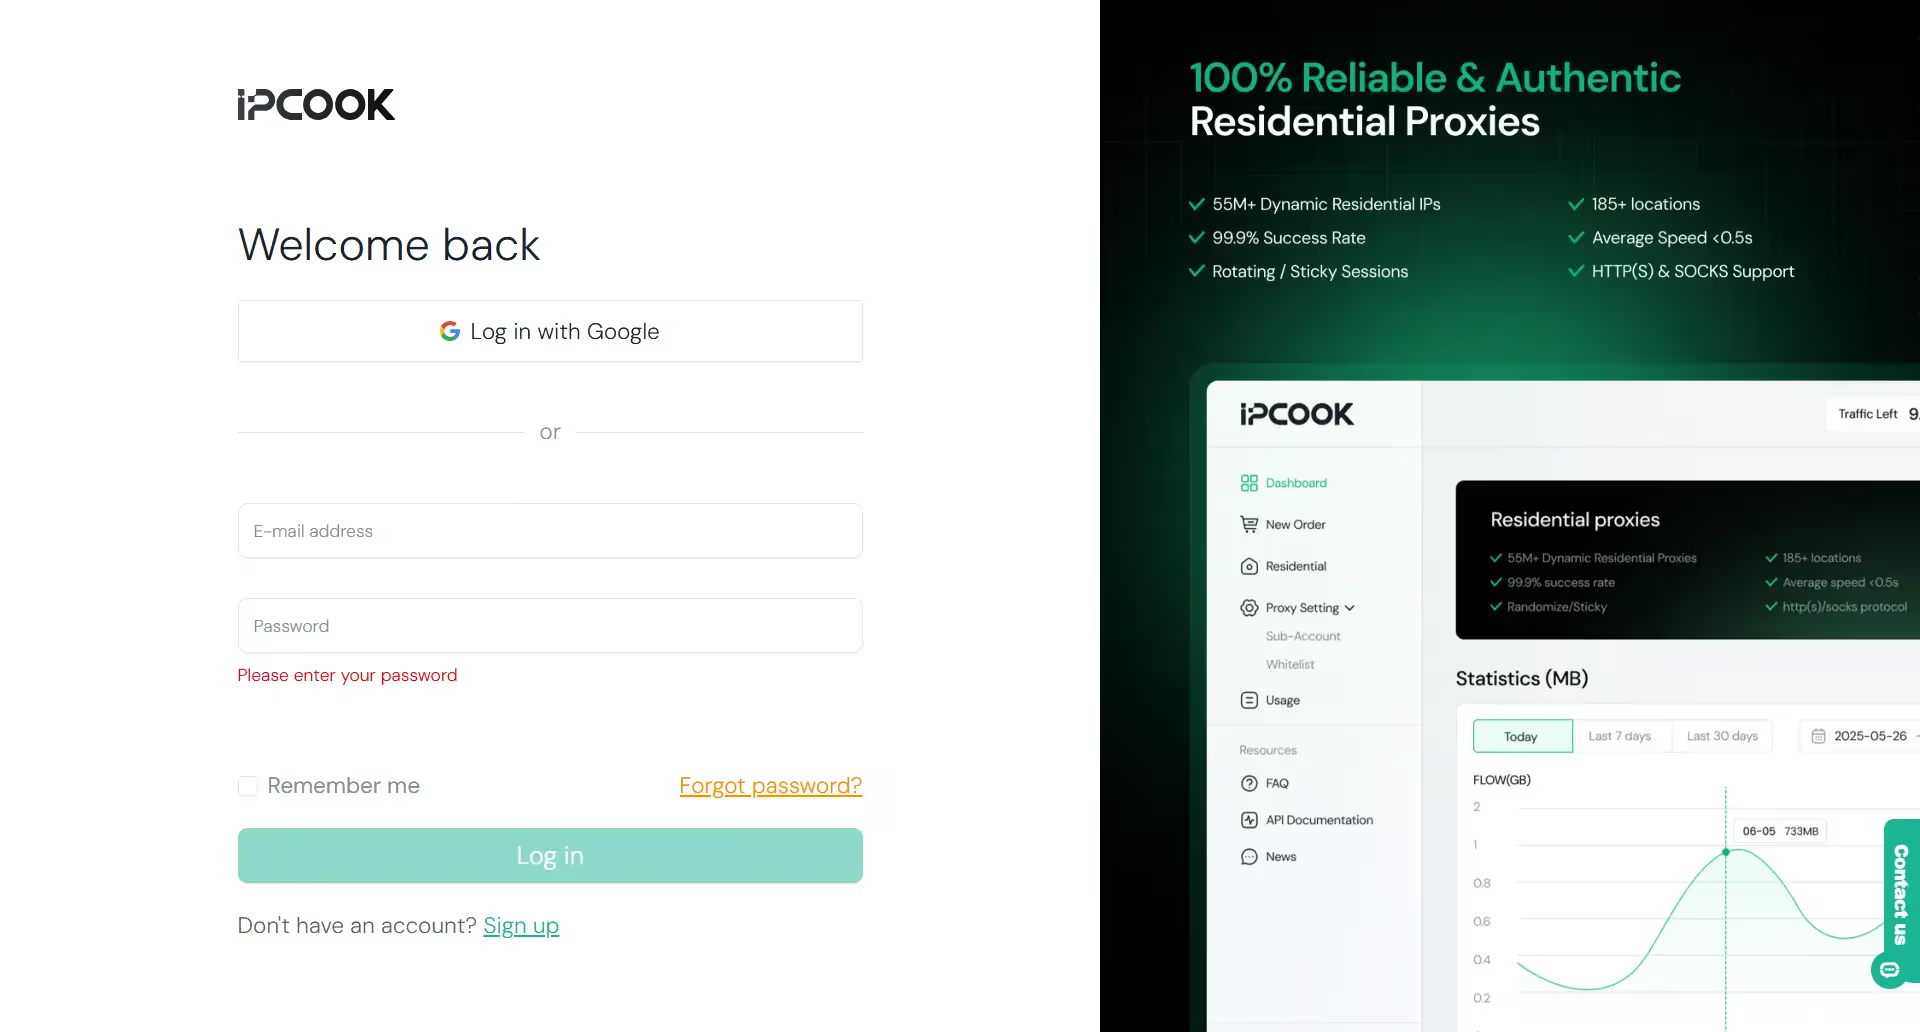
Step 1. Visit IPcook and log in to your account. If you don't have one, click "Sign up" to create one.
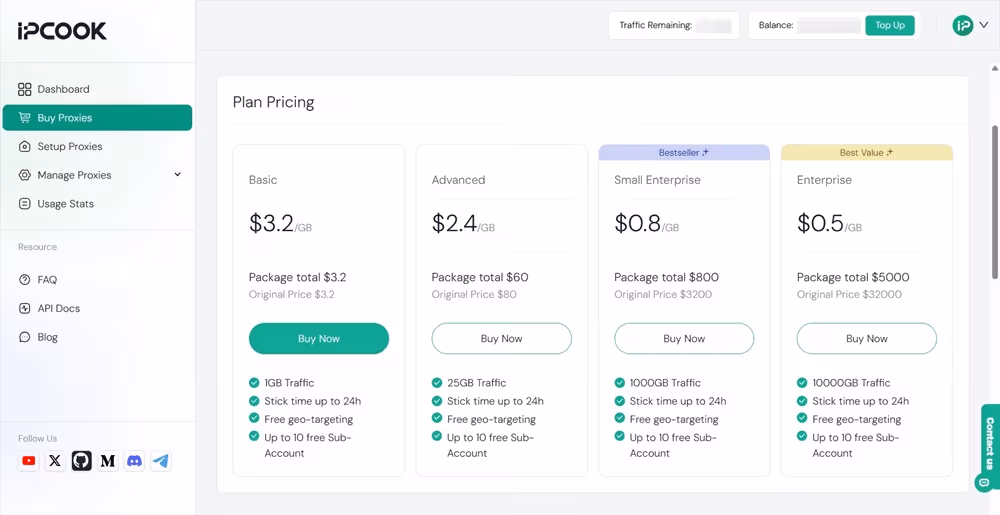
Step 2. After logging in, navigate to the "Buy Proxies" tab on the left sidebar menu. Click "Top Up" to add funds to your account. Then, select a plan that meets your needs in terms of price and data usage. Hit "Buy Now" to finish the payment.
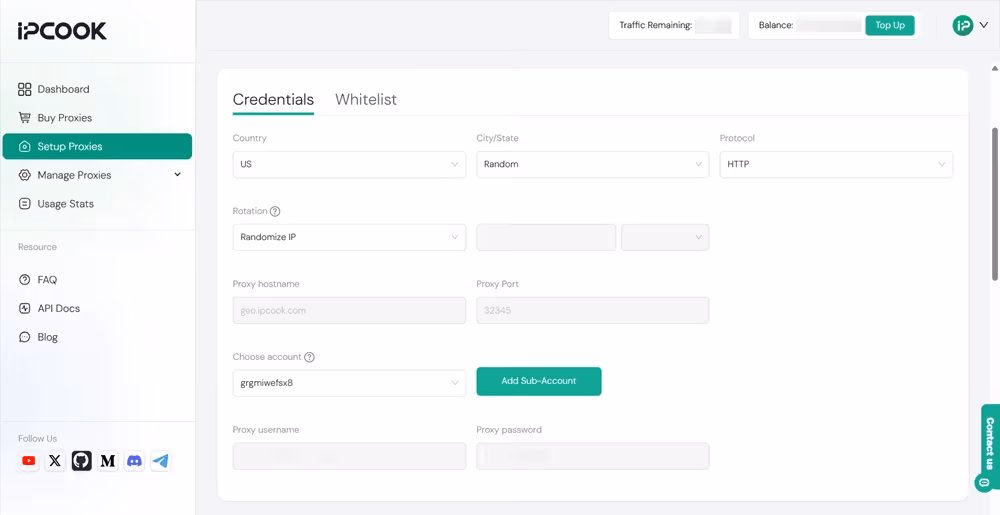
Step 3. Move to the "Setup Proxies" tab. Configure the settings according to your preferences, like country, city/state, protocol, and rotation. Besides, add a sub-account to allocate your data. Then, you will get all the proxy credentials, including hostname, port, username, and password.
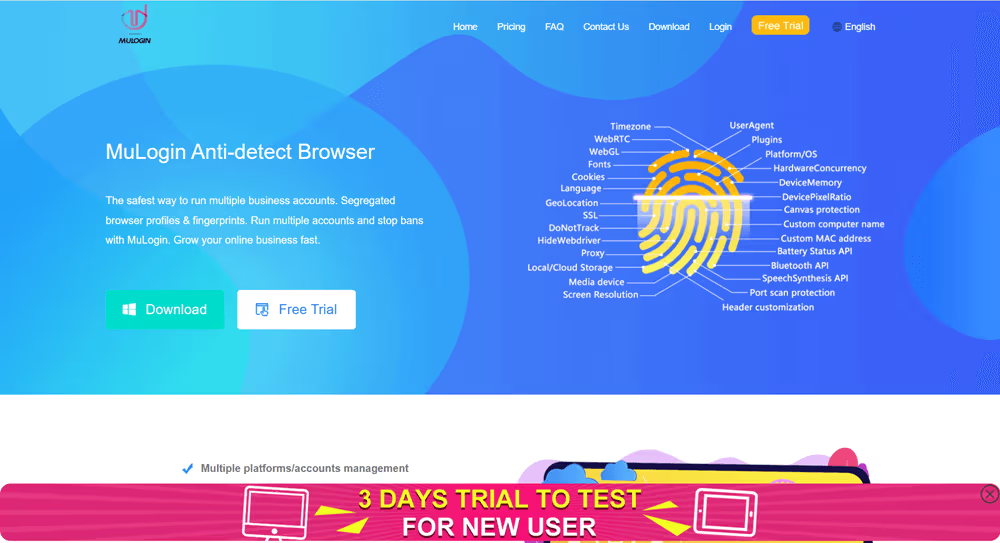
Step 4. Go to the MuLogin official website and sign up for an account. Then, download the application and install it on your computer by following the setup instructions. Support Free Trial Now!
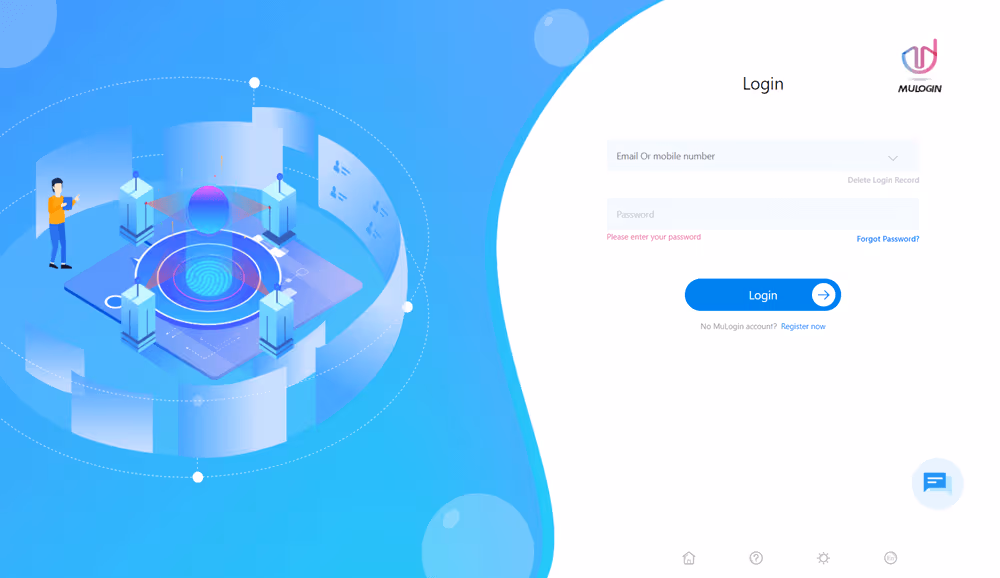
Step 5. Launch MuLogin on your computer. Type in your email/mobile phone and password to log in.
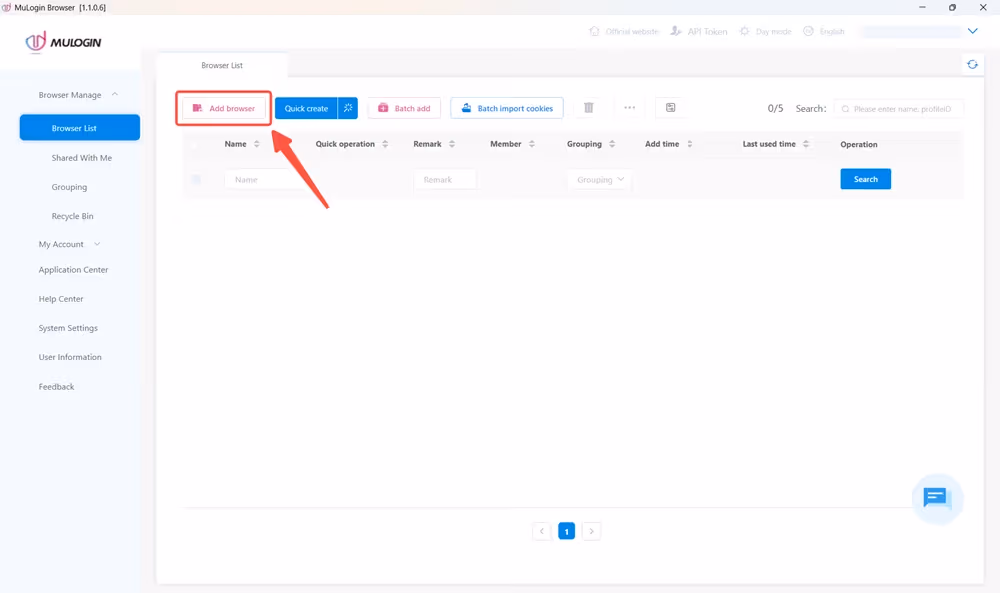
Step 6. On the "Browser List" tab, click "Add browser" to create a new browser profile.
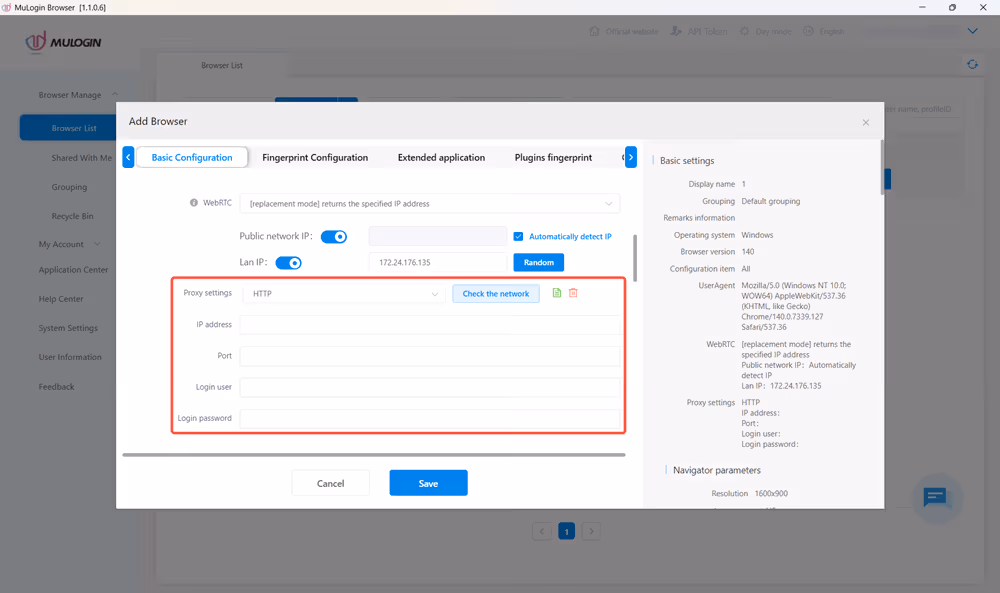
Step 7. In the pop-up window, customize the parameters as you wish, including basic information and browser fingerprints. To set up IPcook proxies, scroll to the proxy section. Click the dropdown menu next to "Proxy settings" to select the proxy protocol you chose on the IPcook dashboard. Then, fill in all the required fields, including IP address, Port, Login user, and Login password. When everything is set, click "Save" to create the profile.
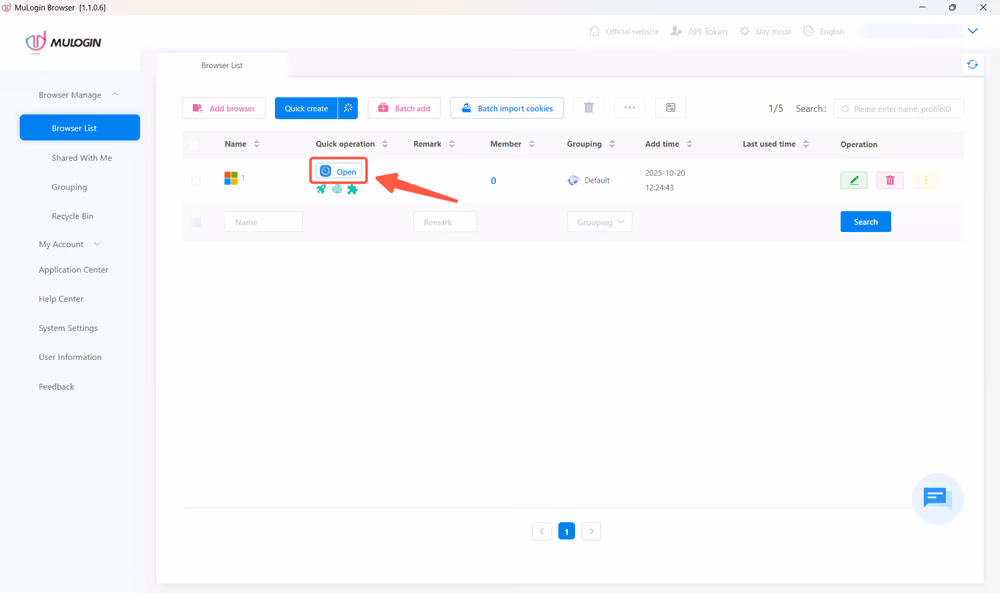
Step 8. The newly created profile will be shown on the "Browser List" tab. Click the "Open" icon to open the browser profile, and you can now browse any website or content online without revealing your own identity.
There you have it! A straightforward way to combine IPcook residential proxy with Mulogin's anti-detect browser. This setup seriously upgrades your web scraping and multi-account management, giving you both stealth and control. Now start with IPcook's free trial and see how smoothly it runs with Mulogin. Your workflow is about to get a whole lot more efficient.

