
Tired of getting your social media accounts flagged or blocked while trying to scale your marketing? Or perhaps your web scraping projects keep failing? The secret often lies in your digital fingerprint. That's where a powerful duo comes in: IPcook plus MoreLogin. In this guide, we'll show you exactly how to pair IPcook's residential proxies with Morelogin to browse safely and efficiently. We'll walk you through setup and explore killer use cases.
Before we get started, let's quickly break down what each tool does. To be specific, IPcook is a source of clean, residential IPs, while Morelogin is a tool for managing digital profiles. Knowing this will make the setup much clearer.
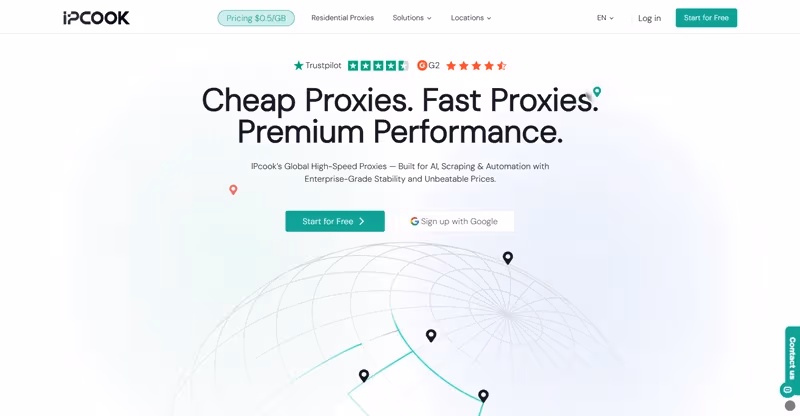
IPcook is your reliable partner for high-quality internet connections. It specializes in providing authentic residential IP addresses that come from real home networks, not data centers. Such a residential proxy network will make your online activities look completely natural. Thus, it is especially helpful for sensitive tasks like large-scale data scraping or running multiple social media accounts without raising red flags.
Here is a quick look at some of its standout features:
Massive Pool of Real IPs: You can gain access to a huge network of over 55M+ IPs across 185+ locations.
Top-Tier Anonymity: IPcook offers elite proxies that don't leak your real IP or add any proxy-related headers.
Lightning-Fast Speed: Its global response time averages under 0.5 seconds.
High Concurrency: You can run massive operations with support for up to 100k concurrent threads.
Flexible IP Control: You can choose between rotating IPs or keeping the same IP for up to 24 hours.
Easy Integration: It works seamlessly with most tools and scripts, with just one line of code.
Imagine having the power to manage dozens of separate online accounts from a single computer, all without the platforms knowing they are connected. That's exactly what MoreLogin, a powerful anti-detect browser, allows you to do. It creates isolated browsing profiles for you, each with a unique digital fingerprint, making your social media marketing and other multi-account activities much safer and more efficient.
Here are some of its key features:
You can create thousands of independent browsing environments on one device.
Its Synchronizer lets you control multiple browser windows at once.
It offers flexible team collaboration tools, allowing you to manage profiles with members.
With API integration, you can automate large-scale tasks, like opening hundreds of profiles programmatically.
After the introduction to IPcook and MoreLogin, now comes the detailed setup guide for the two products. Follow the steps below, and you will get everything configured without hassle!
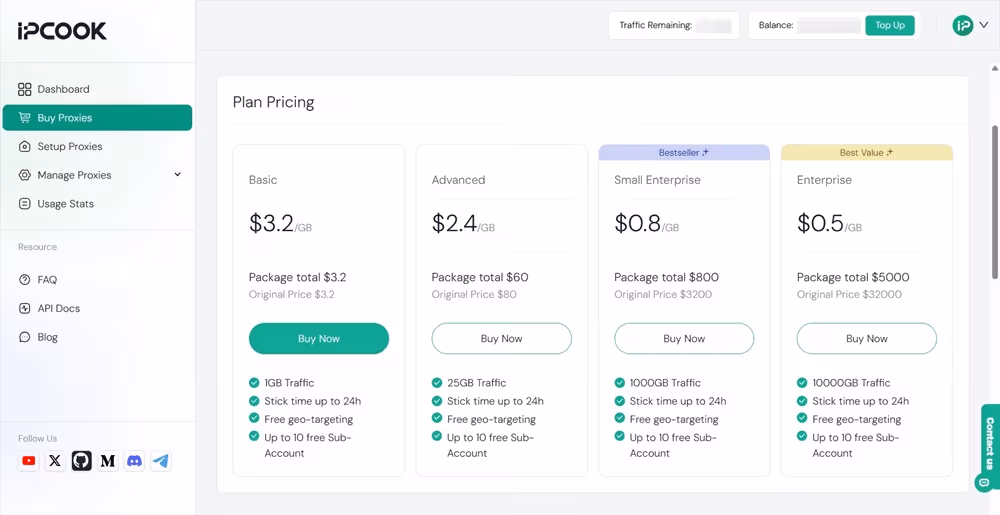
Go to IPcook's website and sign up for a new account. On the dashboard, navigate to the "Buy Proxies" section and click "Top Up" to add funds to your account. Then, select a plan that suits your needs and hit "Buy Now" to finish payment.
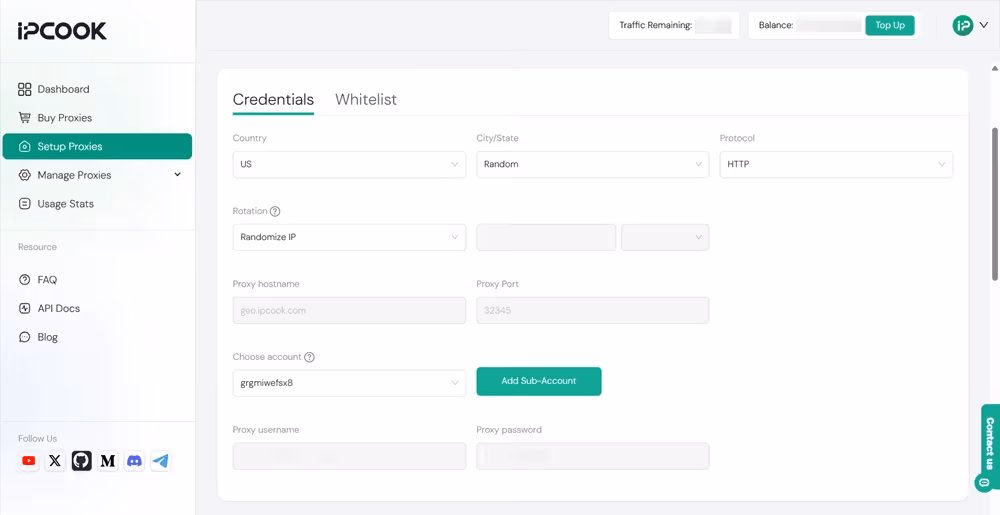
Move to the "Setup Proxies" tab. Customize the settings according to your preferences, such as country, city/state, protocol, rotation, etc. Plus, add a sub-account to allocate your purchased data. Then, you will get the required proxy details, like hostname and port.
Visit MoreLogin's official website and click "Download" to get the application. After installation, create a new account to log in.
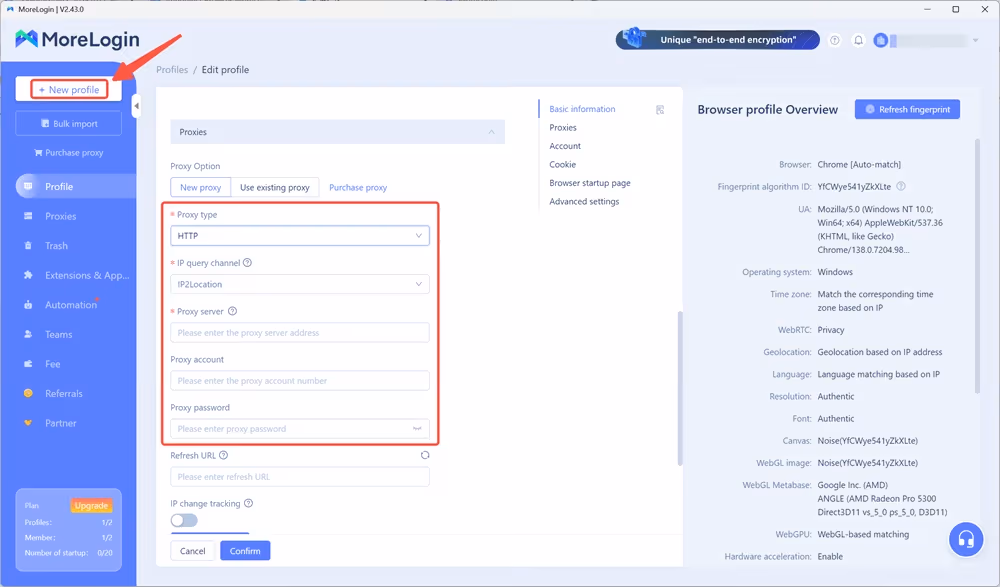
Launch MoreLogin on your device. Click "New profile" in the top-left corner to create a new browser profile. Fill in all the required fields, including basic information, cookies, etc. In the "Proxies" section, copy and paste the proxy credentials you get from IPcook. After everything is set, click the "Confirm" button at the bottom.
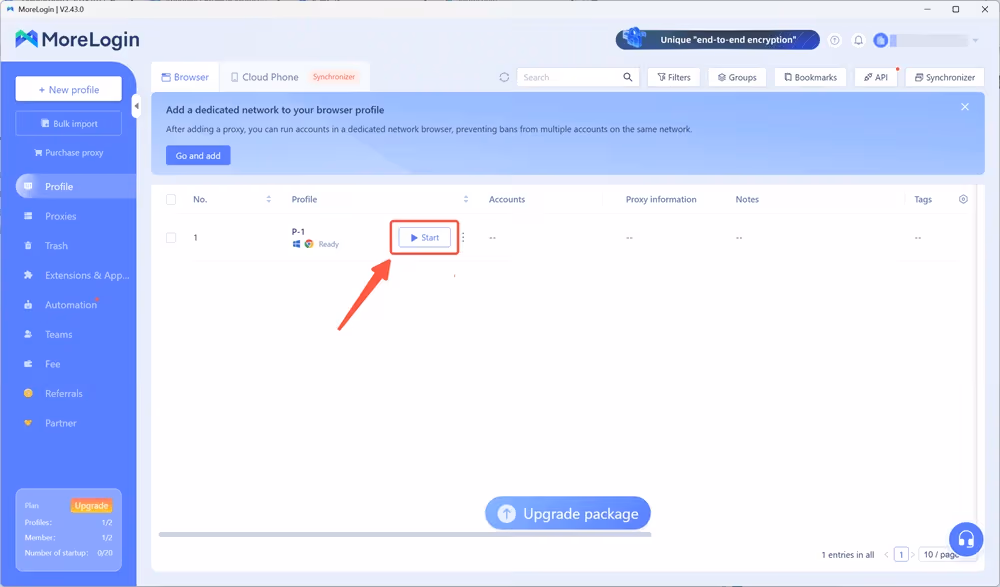
Now, you are all set to start your browsing journey. Just click the "Start" button to open the browser profile and handle your tasks without revealing your identity online!
Now that you know how to set them up, let's explore some real-world situations where this powerful duo truly shines. Whether you're a marketer, researcher, or data analyst, this combination can solve some of your biggest challenges.
Effortless Market Research: You can safely gather competitive intelligence and pricing data through web scraping without getting blocked, thanks to authentic residential proxy IPs from IPcook and unique browser fingerprints from Morelogin.
Scaling Social Media Safely: The combo helps manage multiple brand or client accounts for your social media marketing campaigns. It lets each account appear to be operated from a distinct, real-looking device, drastically reducing the risk of bans.
Smoother Ad Verification & Testing: You can use IPcook to get a local IP address and Morelogin to create a clean browser profile, which allows you to view localized content without flags.
E-commerce & Travel Price Monitoring: With this duo, it is easy to automate data scraping from sites that show different prices based on location.
I suppose you know now why the combination of IPcook and MoreLogin is the best combo for your social media marketing campaigns. More importantly, you've learned how to set them up to help with your business. Therefore, it is time to get things set up and see how this wonderful duo improves your workflow!

