
Octoparse is a user-friendly data extraction tool that lets you scrape public data effortlessly without writing any code. Powered by advanced machine learning algorithms, it can quickly locate and extract data from complex websites, capturing various types of content including text, links, image URLs, and HTML code.
This guide shows you how to use proxies in Octoparse and walks you through the scraping process step by step.
Smooth web scraping takes more than a scraping tool. You also need secure, high‑performance proxies to ensure uninterrupted data collection. Before configuring anything in Octoparse, make sure your proxies are ready.
IPcook is worth considering if you’re looking for the best proxy for web scraping. You can choose from residential, datacenter, or static ISP proxies and copy the connection details you will use later in Octoparse, starting at just $0.50/GB or $0.05/IP.
» Open your IPcook dashboard, then copy the connection details from Proxy Generator or My Proxy and paste them into Octoparse during setup.
Note: IPcook supports multiple credential export formats. In this tutorial, we use HOST:PORT:USER:PASS as the example.
HOST: The proxy server address or IP address, such as geo.ipcook.com or 1.2.3.4
PORT: The port number linked to that host, such as 32345
USER: Your authentication username
PASS: The matching password
See our User Guide for more details on generating your proxy list.
With your proxy credentials ready, go back to Octoparse and set them up. The whole process takes just a few minutes. Just follow the steps below.
Download Octoparse, install it, and sign in to your account.
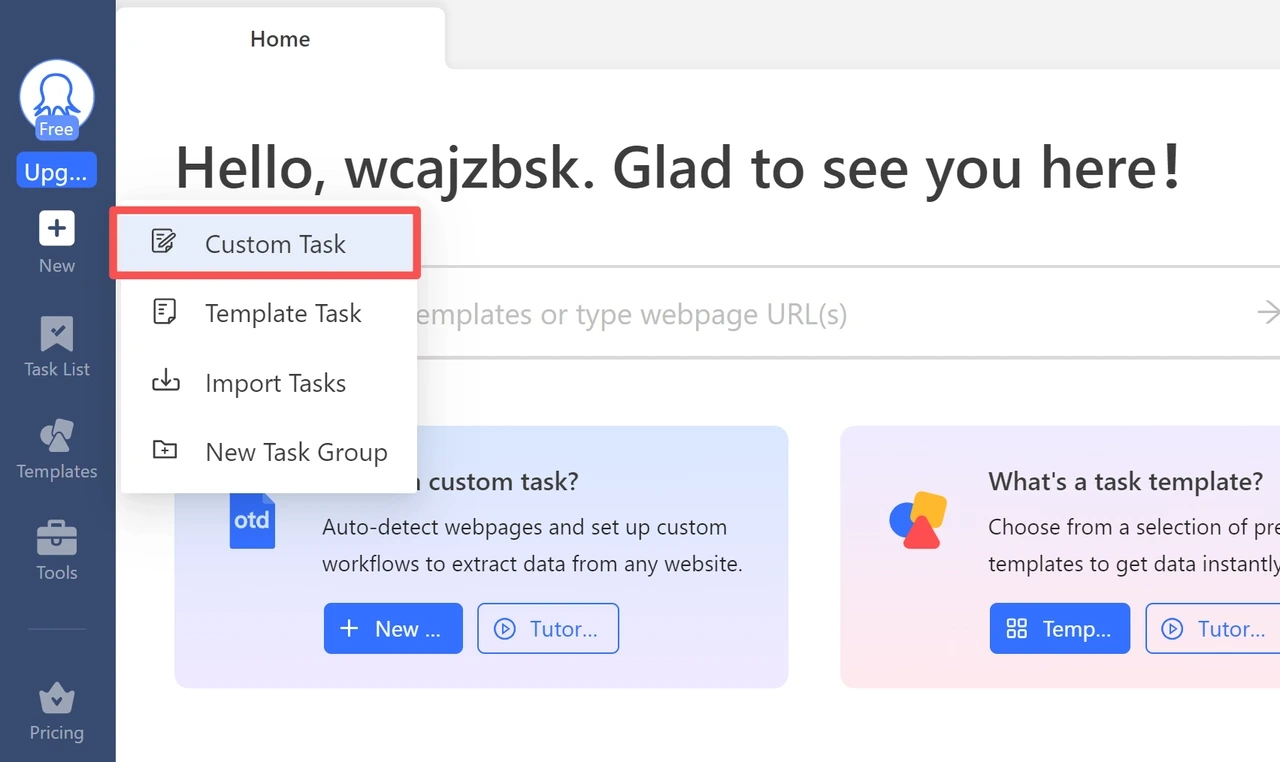
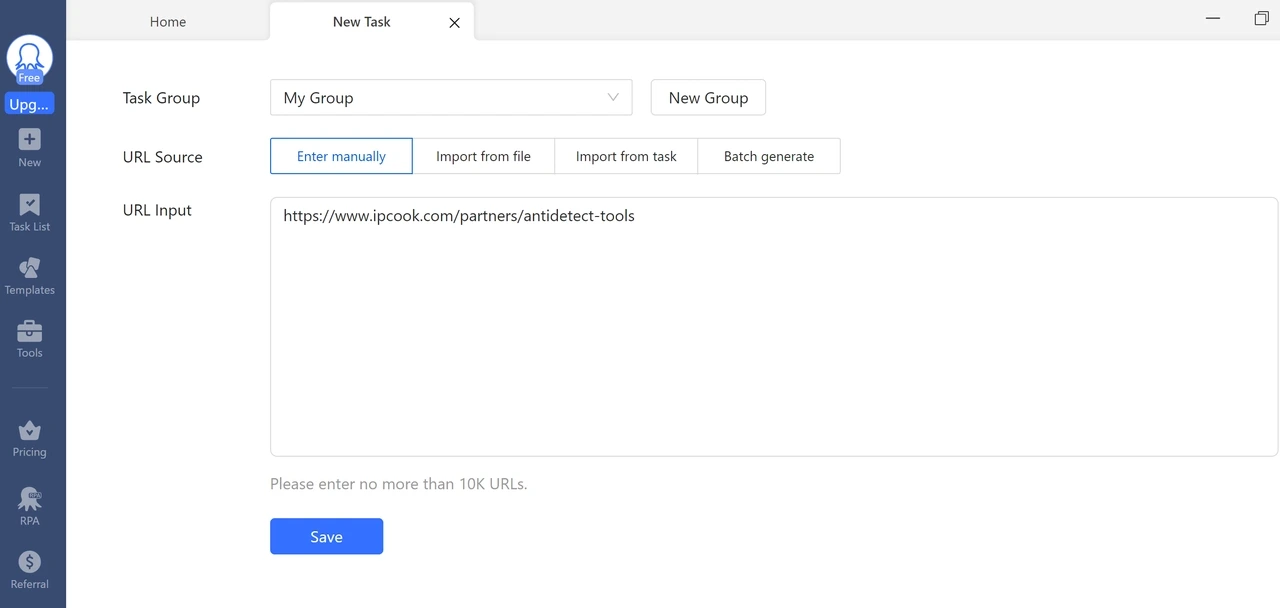
Click + New, choose Custom Task, paste the URL of the page you want to scrape into the URL Input field, and click Save. We'll use www.ipcook.com/partners/antidetect-tools as an example.
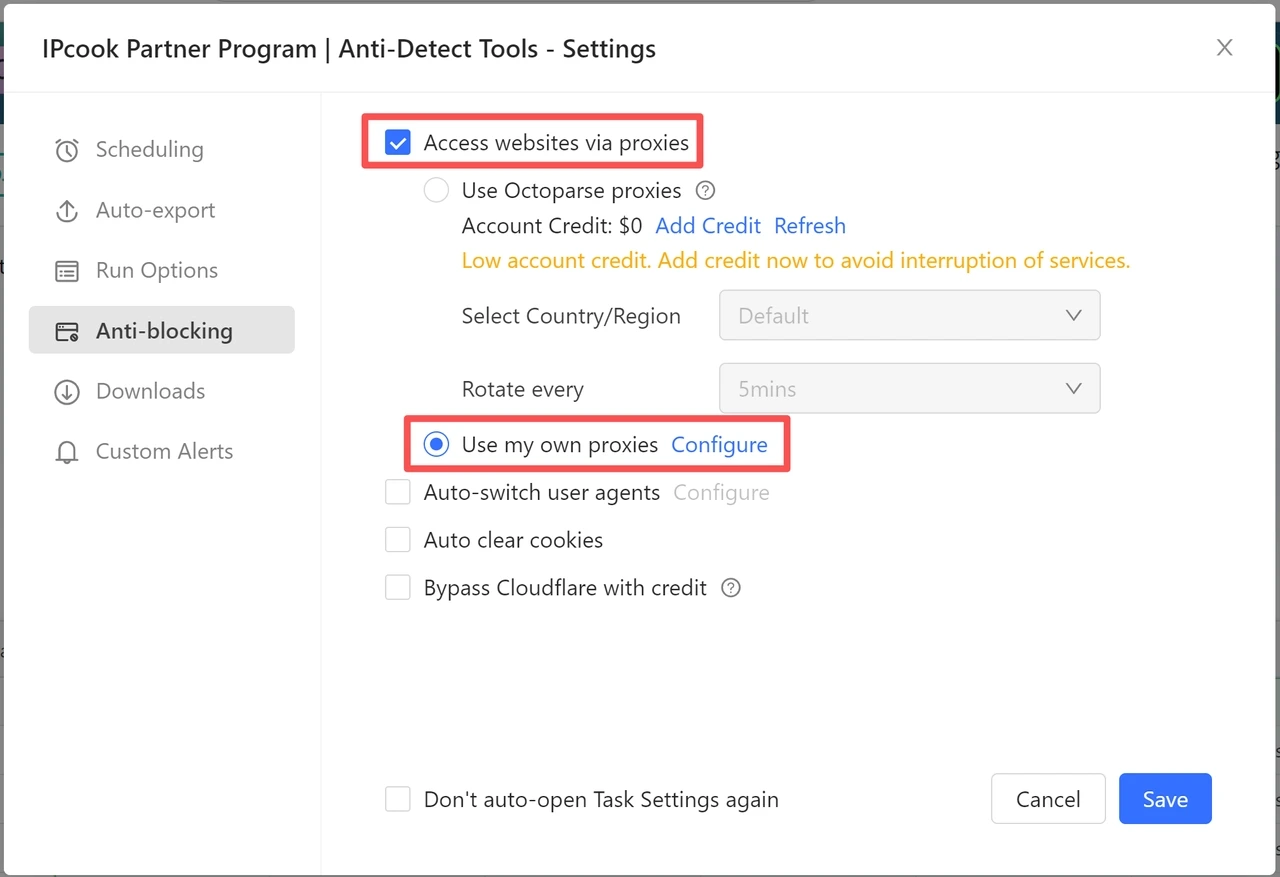
After the page loads, go to Task Settings → Anti-blocking.

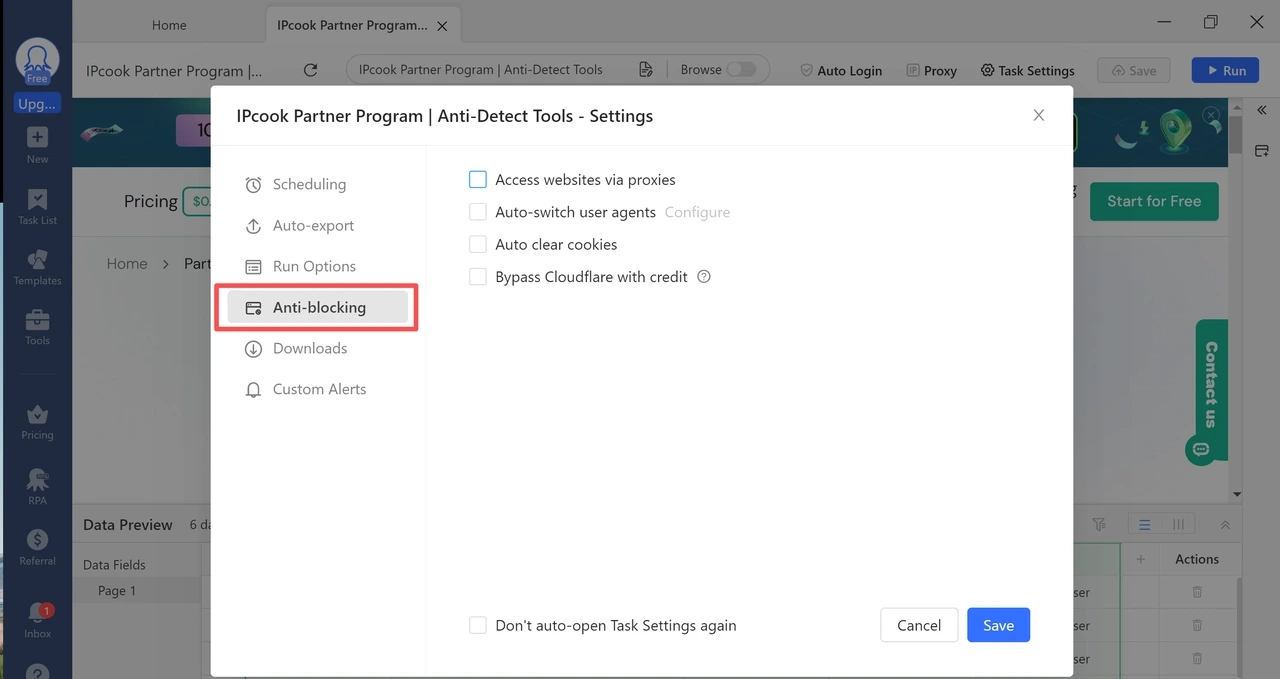
Check Access websites via proxies, select Use my own proxies, and click Configure.
Enter your proxy details in the format: IP:port:username:password (as we mentioned earlier with HOST:PORT:USER:PASS).
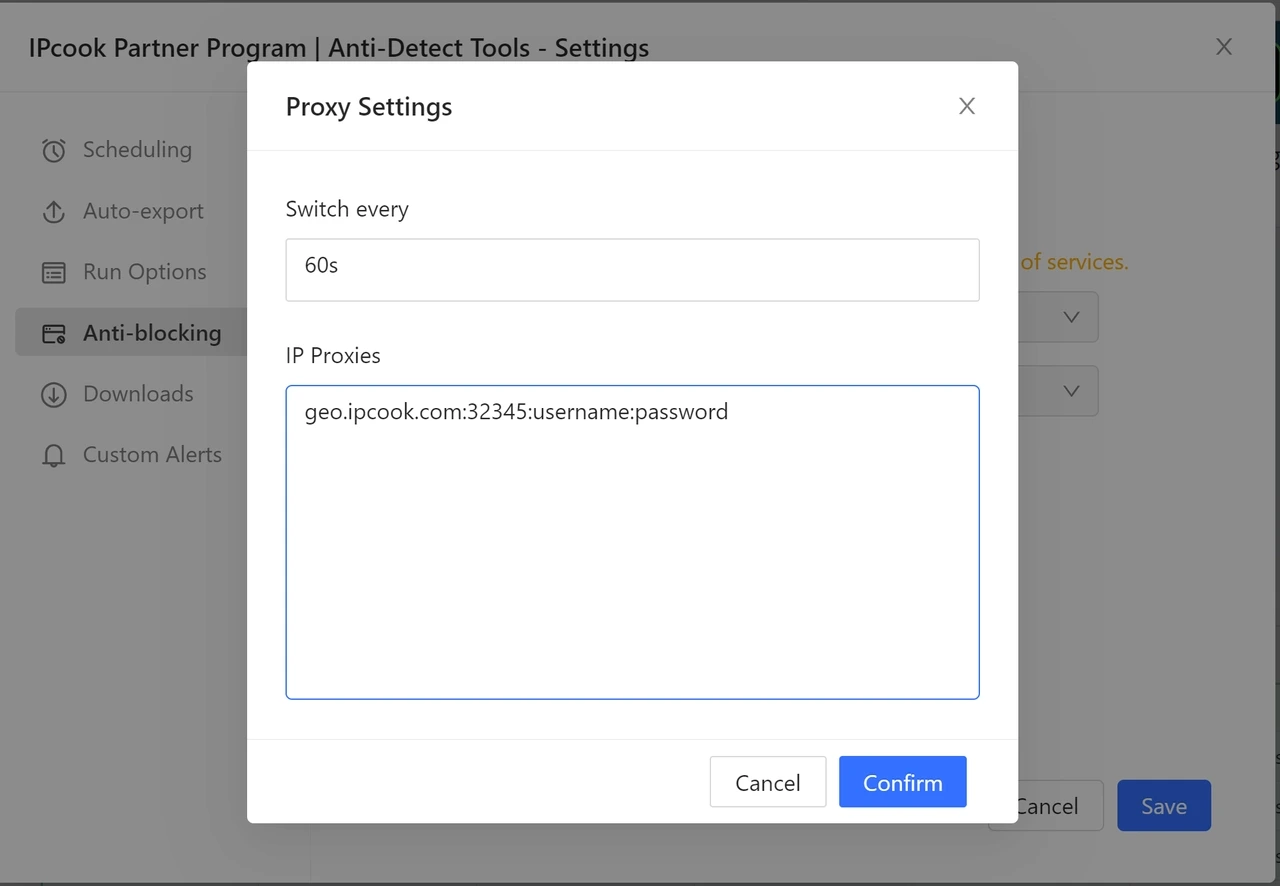
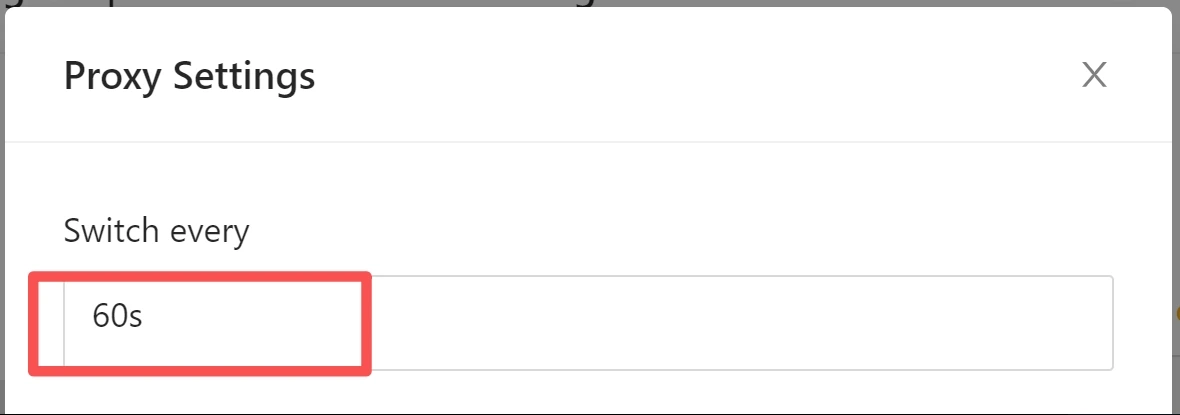
If your proxy supports rotation like rotating residential proxy, set the Switch interval based on how often you want Octoparse to switch IPs.
Click Confirm, then Save. Your proxy setup is complete.
Now that your proxy is ready, you can start scraping with Octoparse. The steps below show how to go from data selection to export.
After the page loads, click the elements you want to extract, such as product titles. Then choose Select all similar elements. After that, set the data type to Text.

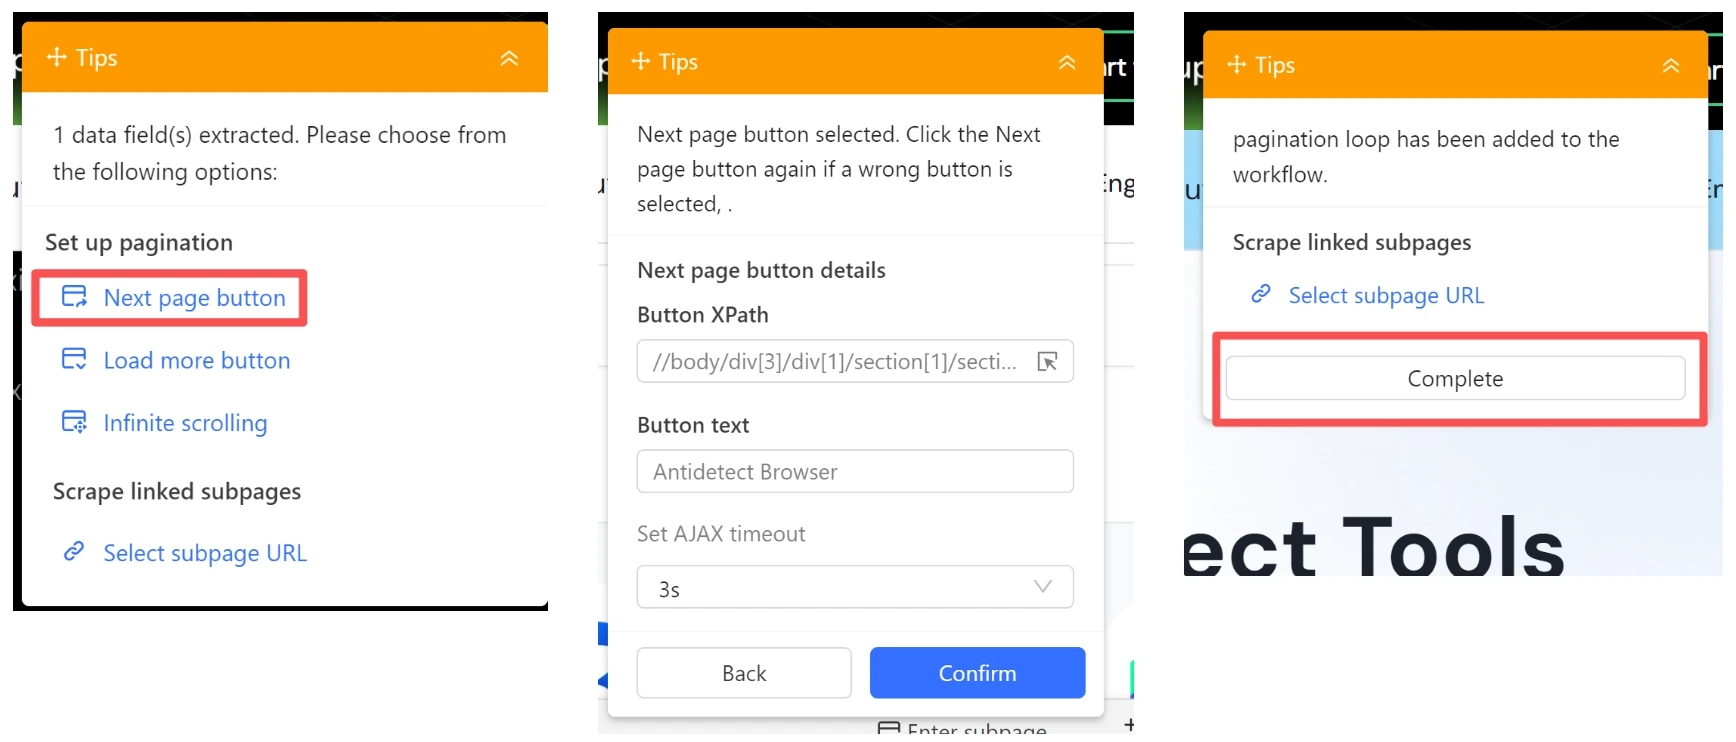
If the site has multiple pages, set up pagination. Choose Next page button, then select the button that opens the next page and click Complete. If all the data is on one page, you can skip this step.
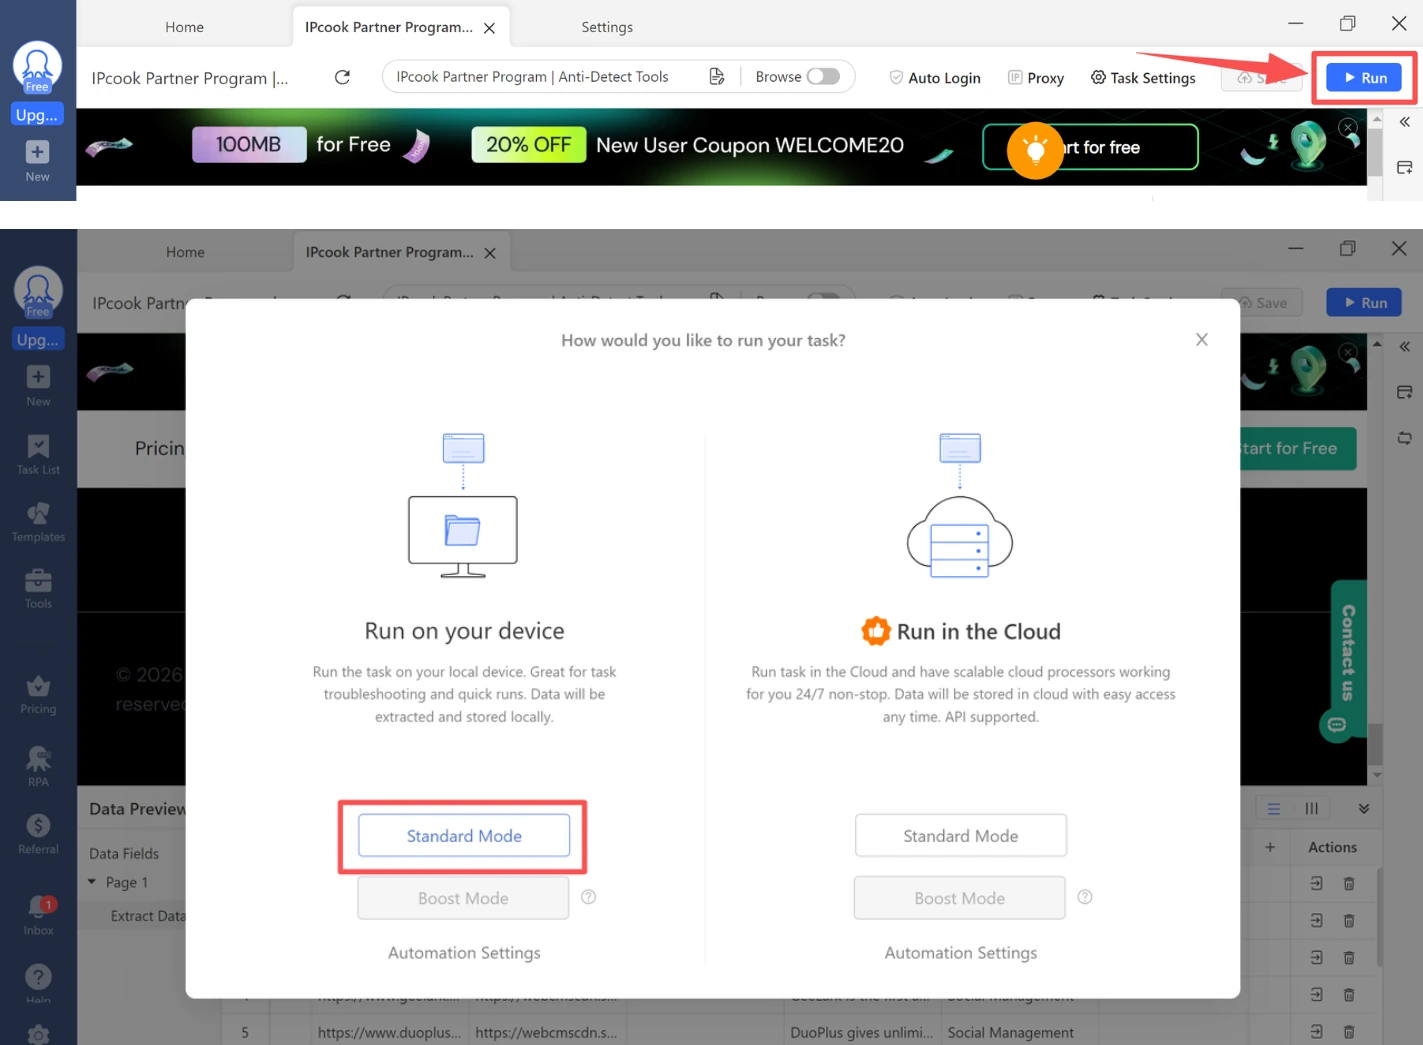
Click Run and choose Run on your device. Select Standard Mode to save the scraped data as a file on your computer.
If Octoparse opens Task Settings after you click Run, set up Local Runs first, then continue with the task.
Let the task run until it finishes. It will stop after reaching the last page or when you stop it manually.
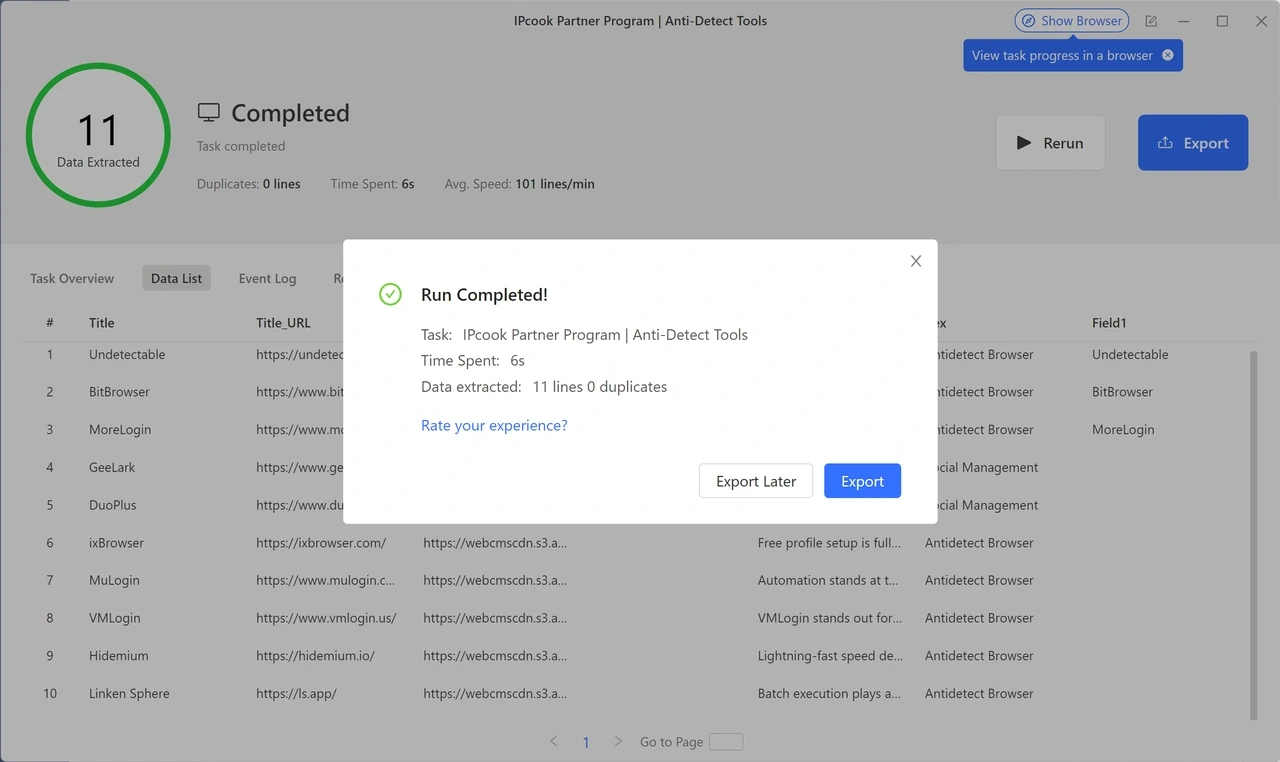
Once the task is complete, click Export and choose your preferred format, such as Excel, CSV, or HTML. In this example, we select Excel.

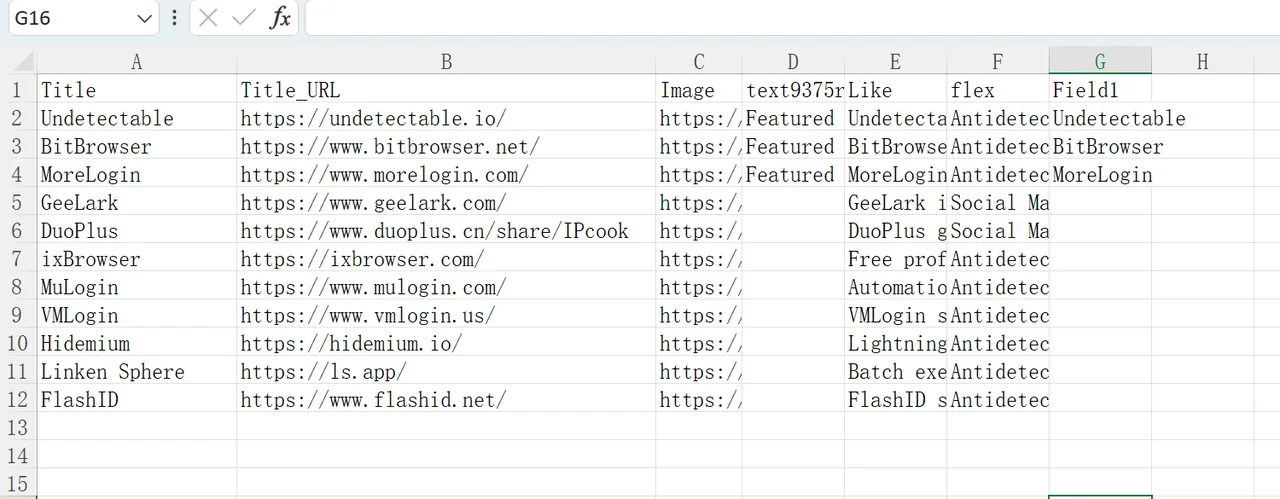
Here is the final result in Excel. If Excel is your preferred output format, see our guide on how to scrape website data into Excel for more.
You’ve learned how to set up your own proxies in Octoparse. Now you’re ready to scrape more safely and efficiently. For a stable and reliable web scraping experience, count on IPcook.
If you’re also considering other web scraping tools, take a look at our roundups of the best website scraping software and best web data scraping services.

